Quick problem statement
Prototypes must prove a design fast and without wasting money. Engineers want parts that match drawings; buyers want predictable costs and delivery. Too many designs ignore manufacturing limits, and that breaks schedules. For metal parts, think early about bends, hole placement, and surface work. If you plan a mixed process, include custom sheet metal fabrication services in the timeline so lead times and tooling fit the prototype window.
Where prototypes fail
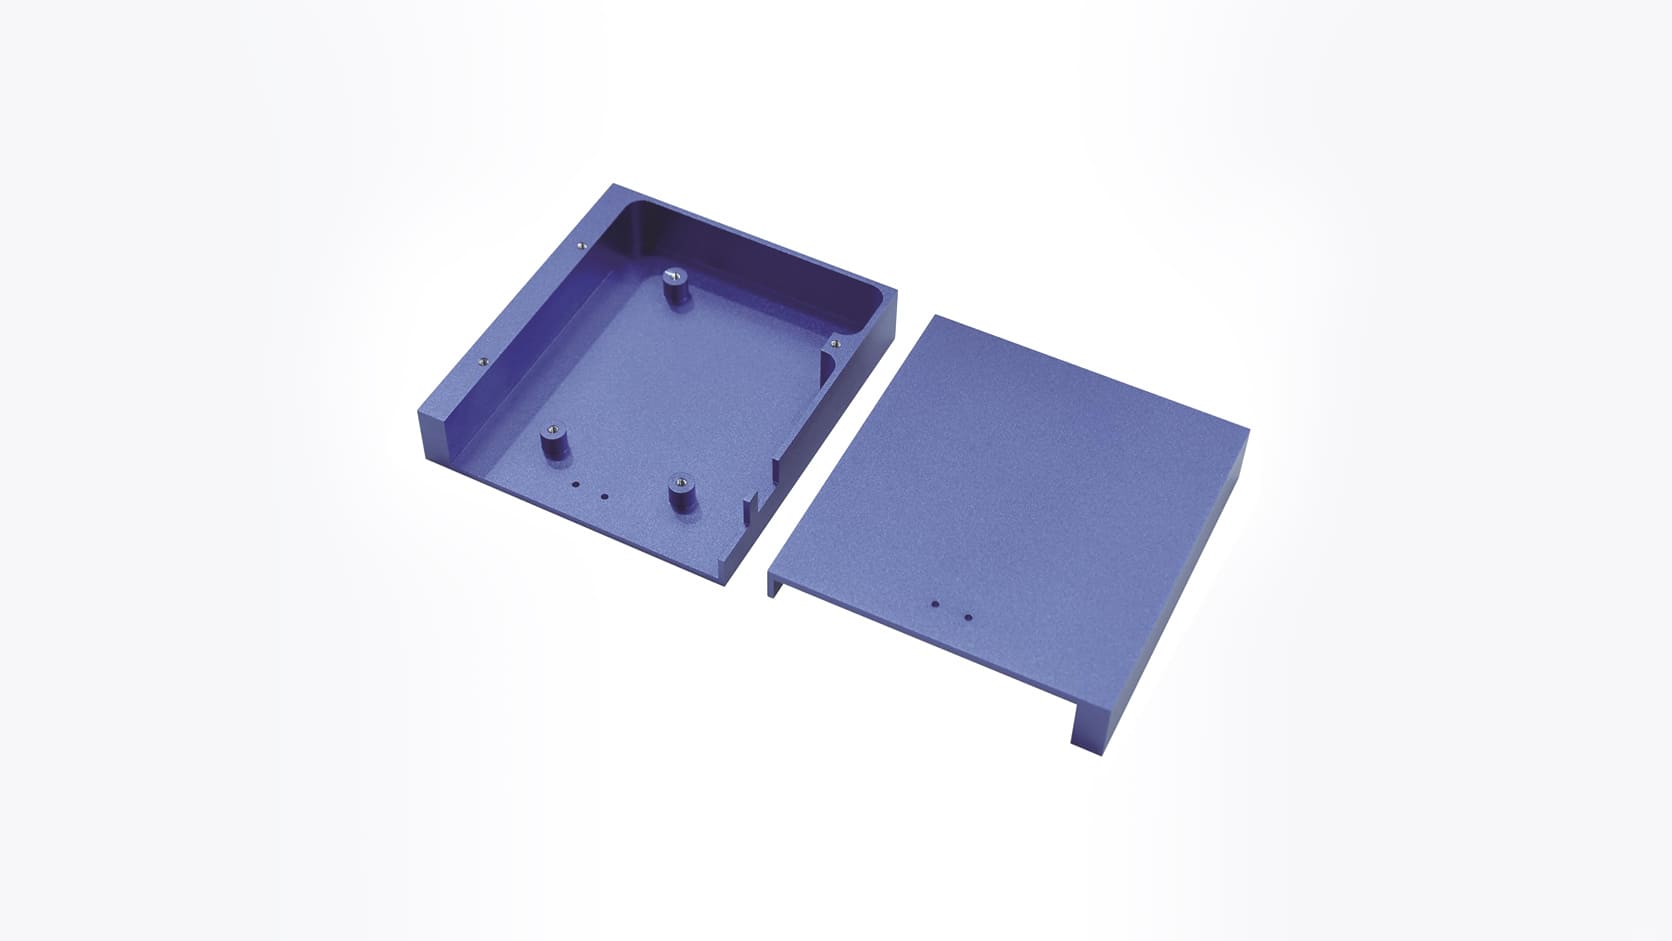
Common failures repeat: tight tolerances where not needed, features too close to bend lines, and weld joints that block inspection. Those problems cause rework, scrap, and surprise costs. Ask: does this feature prove form, fit, or function? Keep the prototype focused. Remove non-essential cosmetic features until the design is validated.
Material and geometry choices that reduce risk
Choose materials that machine and form reliably. Stainless and aluminum are good starting points. Avoid exotic alloys unless the test requires them. Use simple geometry for first-run parts: standard hole sizes, fillets at internal corners, and bend radii matched to material thickness. Specify critical dimensions only. The rest can be loose tolerances to cut cost and speed up delivery.
Tolerances, stack-ups, and inspection
Dimensioning rules matter. Allow realistic geometric tolerances. Specify datum points that make sense for inspection and assembly. If a tight stack-up exists across multiple parts, flag it. Use callouts that inspection labs can measure without special fixtures. That reduces failed inspections and iteration cycles.
Joining, finishing, and assembly considerations
Decide welding, fastening, or adhesives early. Welding adds distortion; plan fixturing or sequence to control it. Fasteners need clearance and access — sketch the assembly from the tool operator’s view. For finishes, simple bead blast or clear anodize is cheaper than paint. If you must paint, allow for masking and cure time in the schedule.
Cost vs. speed trade-offs
Faster prototypes often cost more. CNC with quick setups beats long lead-time tooling for one-offs. Sheet metal forming saves on machining for thin parts but needs correct bend allowances and tooling. Choose processes that match production intent when possible; otherwise treat the prototype as a test of function only.
Common pitfalls to avoid
Don’t specify mirror-image features without checking tooling. Don’t place holes near sharp corners or bend lines. Don’t assume nominal material thickness — measure it. Don’t ignore finish tolerances that affect fit. Each of these small mistakes creates big delays.
Experience, authority, and a real-world anchor
I’ve worked with suppliers serving the Detroit automotive supply chain, where part tolerances and delivery cadence set practical standards. That market shows why clear drawings and early supplier engagement matter. For teams sourcing supply partners, compare capabilities and lead times from established sources; good references often come from local networks. When you review providers, consider how they handle revision cycles and tooling feedback—typical strengths of reliable custom metal fabrication companies and experienced shops.
Alternatives and quick evaluations
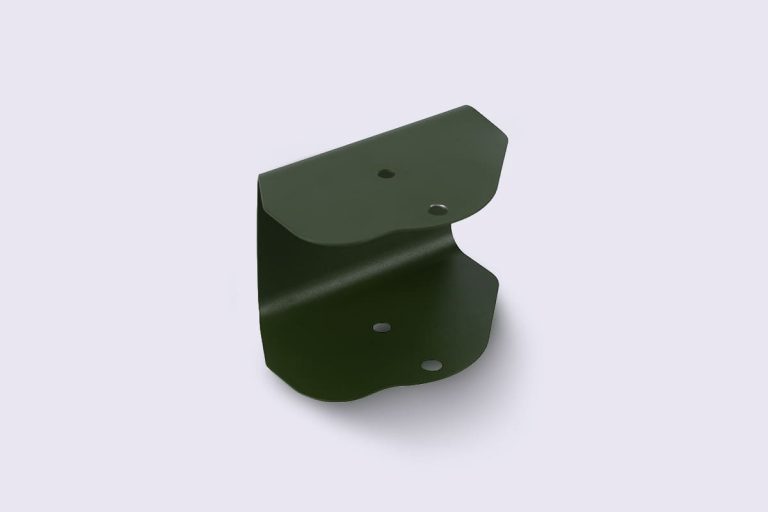
3D printing is fast for complex shapes but poor for final mechanical properties. CNC machining gives tight tolerances but higher cost for thin walls. Sheet metal is economical for enclosures and brackets. Pick the method that validates the key risk: mechanical strength, fit, or thermal behavior. If two methods could validate the risk, run both in parallel for faster learning.
Summary and practical next step
Fix the biggest unknowns first. Tighten only the dimensions that matter. Talk to fabricators early about bend allowances, weld sequence, and inspection. When you need consistent prototype results and sensible feedback from production-minded fabricators, consider partners with experience handling mixed processes, like Hanstar. They help keep focus on what the prototype must prove.