Intro — what this piece is doing
Picking an intraoral scanner feels like choosing a ute for the whole family: you want something that handles well, doesn’t guzzle resources, and won’t leave you stranded mid-job. This comparative run-down focuses on what actually matters to clinics — accuracy, speed, software fit, and running costs — and why certain technologies, like a Photogrammetry 3D scanner, might tip the scales for specific workflows. I’ll compare real trade-offs so you can match a scanner to your practice rather than chase marketing buzz.
What to compare first: the concrete criteria
Accuracy is not a vanity stat — it determines if your crown fits first try or comes back for a remake. Speed affects chair time and throughput; a faster scan saves staff hours across a week. Software openness decides whether your files go straight to your lab or get trapped behind a proprietary format. Ergonomics matter to clinicians: a heavy wand slows you down and tires your wrist. Finally, consider consumables, training needs, and warranty coverage. Weigh each criterion against your clinic’s actual caseload, not vendor demos.
Accuracy vs speed: the trade-off
Some scanners deliver ultra-high detail but do so scan-by-scan, stitching small captures together — brilliant for single-unit prosthetics but slower for full-arch work. Others prioritise continuous capture and speed, which helps general dentistry and ortho monitoring but can compromise fine marginal detail. Decide whether your priority is single-unit laboratory precision or fast, repeatable full-arch captures. Your choice here defines downstream lab work and remakes.
Open system or closed ecosystem?
Open systems export standard STL or PLY files and play nice with independent labs and design software; closed systems may offer tighter integration and turnkey workflows but lock you into a single ecosystem. If your clinic works with multiple labs or you want the freedom to change labs, pick openness. If you run an in-house lab and like one-vendor simplicity, a closed system can be tidy — until you want to switch.
Software and integration: don’t underestimate this
Easy-to-use scanning software shortens the learning curve and reduces operator error. Look for systems with automatic error flags, simple export options, and a clear path to lab communication. Also check whether updates are free or behind a subscription. A scanner that integrates with your practice management and lab portal will save admin time — but confirm the integrations before you buy.
Photogrammetry’s niche and a real-world anchor
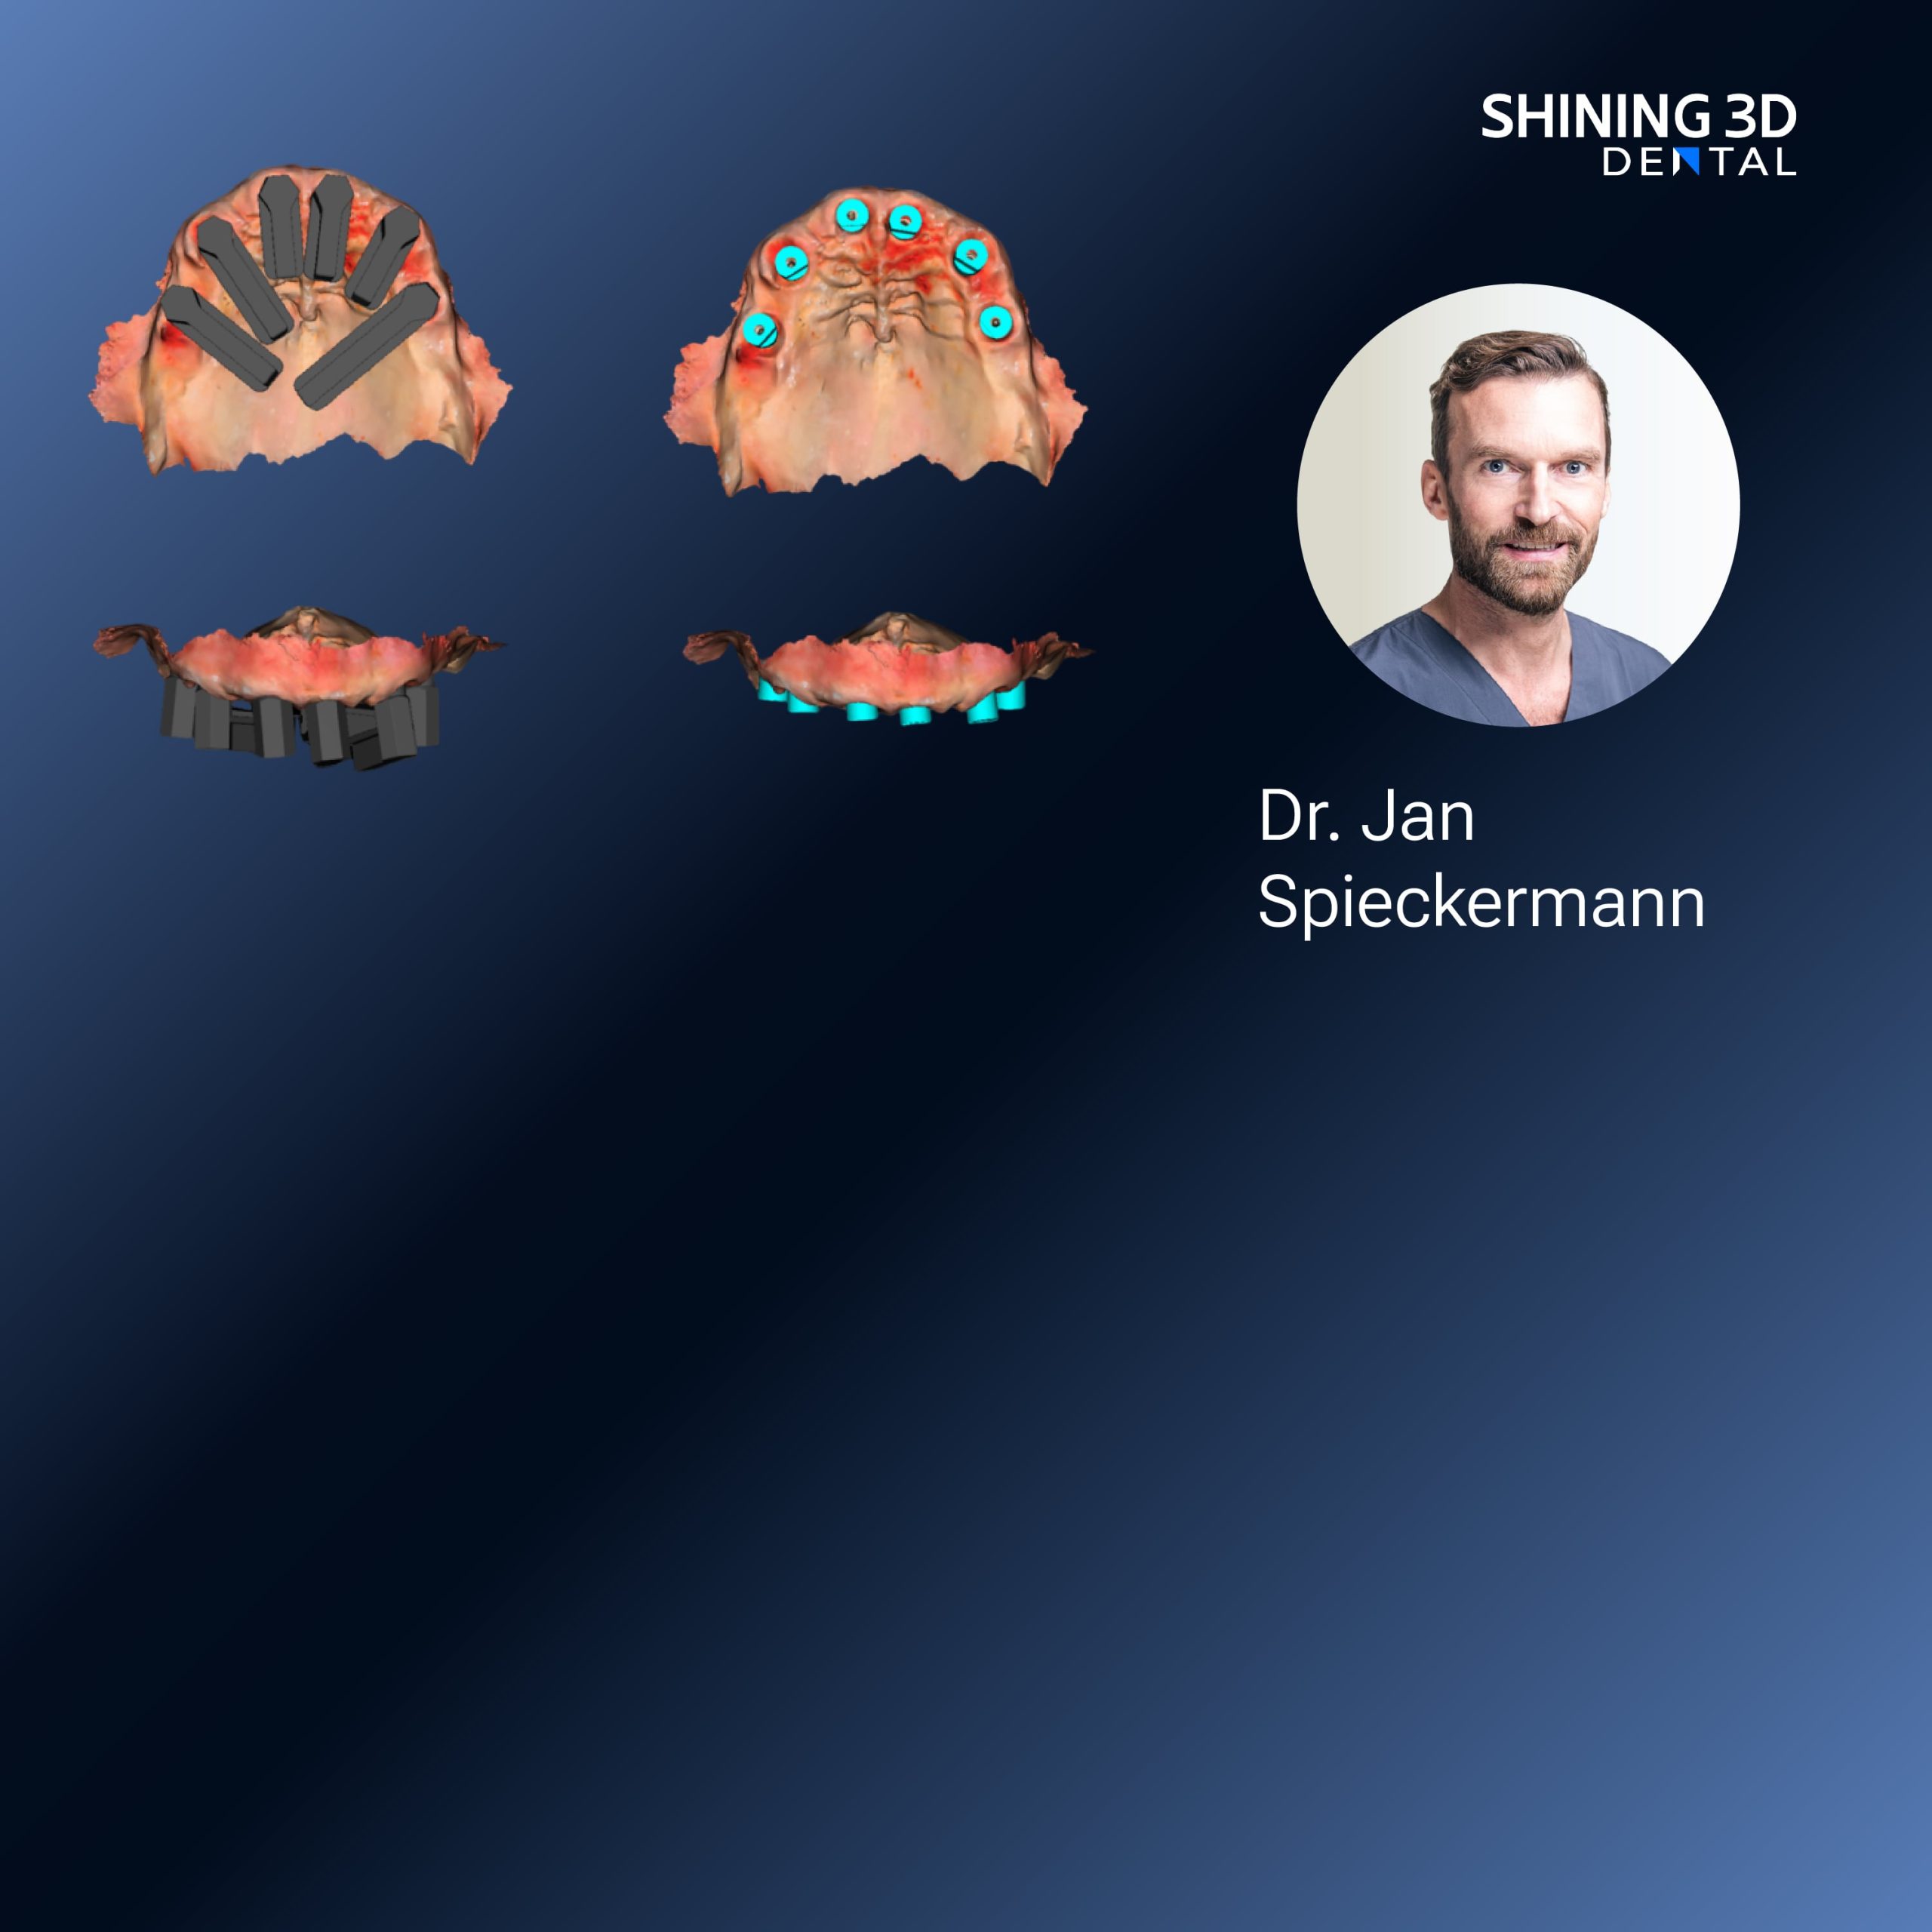
Photogrammetry excels at full-arch repeatability and high-accuracy multi-unit cases; it’s not always the fastest for quick single-tooth scans, but it shines where fit across multiple units matters. Industry showcases — think the IDS trade fair in Cologne — have highlighted how photogrammetry systems handle full-arch implant cases with fewer alignments needed. When vendors demonstrated their rigs at those events, the value proposition for lab-grade prosthetics became clear, especially with systems like the Photogrammetry dental scanner that aim to marry the lab’s accuracy with chairside workflow.
Clinical workflow comparisons — match scanner to clinic type
Small general practice: prioritise ease-of-use, quick learning, and fast full-arch captures. Prosthodontic or implant centre: prioritise trueness and multi-unit alignment; photogrammetry or high-precision scanners often win here. Orthodontic practice: speed, repeatability, and arch-level metrics are important; choose systems with robust monitoring tools. Consider staff skill levels and whether you’ll dedicate a super-user — that often changes the preferred option.

Common mistakes clinics make
Buying for specs instead of workflow: that glossy accuracy number may not translate to your cases. Ignoring software fees: subscriptions and cloud costs add up. Underestimating training: inconsistent scans come from inconsistent technique. Skipping lab consultation: ask your lab which file types they prefer. Overlooking ergonomics: a lighter, balanced wand reduces operator fatigue and scanning errors over a long day.
Short checklist before you sign
1) Match the scanner’s strengths to your most common cases. 2) Confirm file formats and lab compatibility. 3) Try a live scan with your usual operator and a typical patient. 4) Ask about software update policy and hidden costs. 5) Check warranty, on-site service availability, and training offerings. Don’t buy from the showroom alone — test in-clinic or ask for a rented trial.
Alternatives you’ll see and how they stack up
Optical triangulation and confocal systems are common; they’re mature, powder-free, and good for crown-and-bridge work. Photogrammetry suits multi-unit and full-arch accuracy. Some hybrid solutions combine camera arrays and scanning wands to balance speed and detail. Each tech has clear strengths; pick the one that reduces your remakes and unnecessary appointments.
Final synthesis and practical note
Think less about the “best” scanner and more about the best fit for the jobs you do every week. If your clinic handles lots of multi-unit prosthetics and you want lab-grade alignment without extra fuss, a photogrammetry approach is worth a close look; for high-volume general work, prioritise speed and ease-of-use. From what clinics I’ve worked with, the robust workflows and sensible service options from SHINING 3D DENTAL often solve the practical issues that matter day-to-day — fewer remakes, reliable file exchange, and a predictable learning curve that keeps the chair moving.